AddressBase Premium data
AddressBase Premium data is more comprehensive data that includes full lifecycle information about a property and alternate addresses it may have held in the past. See here for more information: https://www.ordnancesurvey.co.uk/products/addressbase-product-family 
Open Cadcorp SIS Address Loader; this will be your welcome screen.
- Select the folder containing the AddressBase Premium zipped (or unzipped) csv files.
- Select the folder to hold the log file and any unzipped data.
- Click Next.
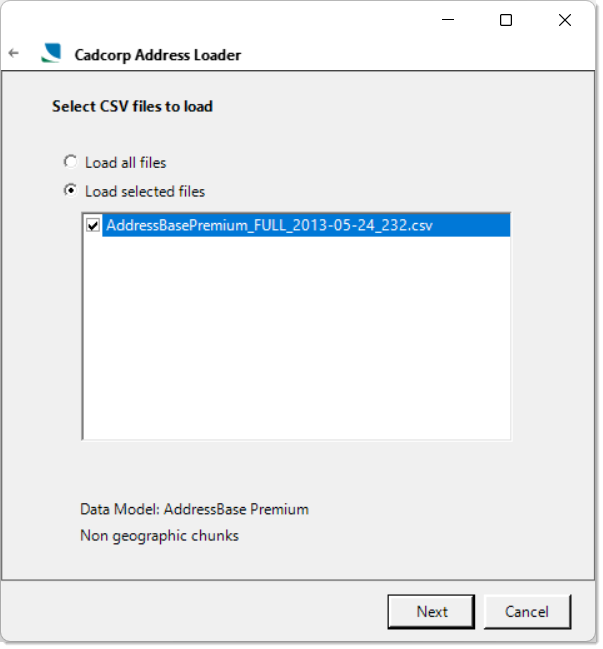
Opt to load all address files or just a select few.
.png)
Data Model shows AddressBase or AddressBase Plus as appropriate.
The term Non geographic chunks or Geographic chunks (Tiles) will be displayed according to the type of data to be loaded.
- Non-geographically chunked data does not have any reference to the geographic position of records.
- Geographically chunked data files contain records in a 5km square. This is likely to result in there being a larger number of files than non-geographically chunked data. With geographically chunked data, the tables have to also store the tile name in every record to allow for tile replacement.
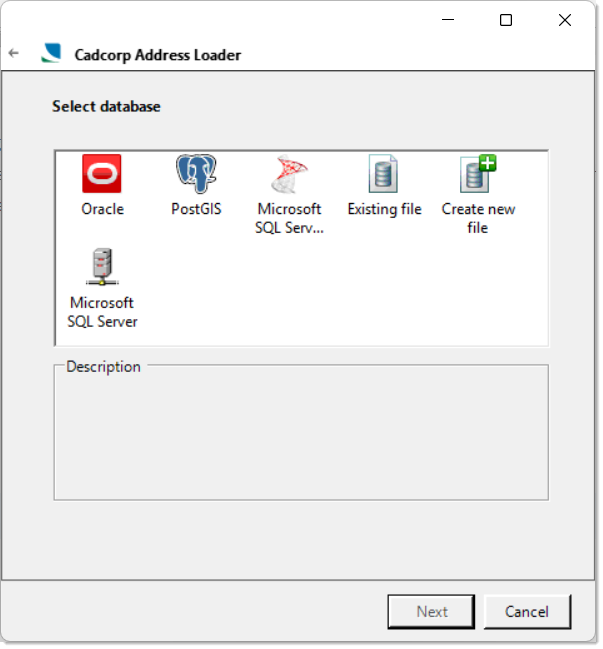
Click Next to select a database.
Example
The following screens show an example of a selected PostGIS database.
After choosing PostGIS, enter the connection details. (This screen will differ depending on the type of database you have chosen). Click Next and enter the relevant connection details.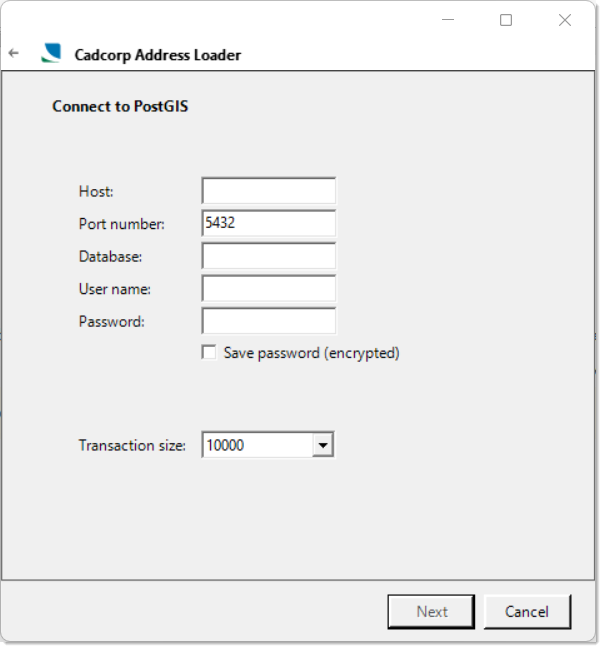
Transaction Size: This is the number of records which are written to the database at a time. In the above example, 10,000 records are read by the loader before writing them to the database. Enter a lower value if working with unstable networks or where the database server is low on memory.
TIP: When connecting to a Microsoft SQL Server database, you can also opt for a SQL Bulk Copy (initial supply only)
Click Next to see the AddressBase Premium Schema. The data will be loaded into the tables listed.

| Option | Description | |
| Prefix table names with: | Enable this option to add a prefix to the table names shown in the list. Enter the prefix in the text box. (Remember the prefix must begin with a letter.) | |
|
Build interface table |
Enable this option to build an Interface table. Click Options.
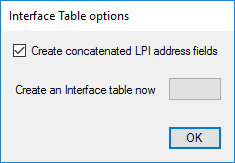
Enable Create concatenated LPI address fields tickbox if required. If left unticked, the Interface table will not be built at this stage. NOTE: The Create an Interface table now - Create button will not be active at this stage. It will become available when data has been loaded and the command completed. Address Loader can then be run again to this step and the Create option will then be available. See Create an Interface table now below. |
|
|
Create PAF gazetteer view |
To create a Royal Mail Postcode Address File (PAF) check the tickbox and enter a name for the gazetteer. |
|
|
Land Property Identifier (LPI) |
To create a Land Property Identifier (LPI) check the tickbox and enter a name for the gazetteer. |
|
|
Do not load Application Cross Reference records |
To not load any rows into the APPLICATION_XREF table, check the tickbox. This saves time and database space. |
|
Click Next and then Start to begin loading the data.
.png)
Two files were selected in this example so the progress of each file can be shown.
When data loading is complete, the addresses will be concatenated.
 premium.png)
You will see a confirmation message when data load is complete.
 premium.png)
Create an Interface table now
Run Address Loader and proceed to the Connect to database step.
The AddressBase Premium Schema dialog will be displayed:

There will now be additional options available on this dialog:
- Drop and rebuild indexes
- Truncate tables before load
Check the appropriate tickboxes if these options are required.
Click the Options button to display the Interface Table options dialog:
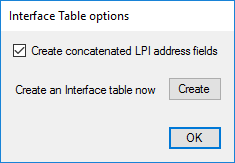
Click Create.
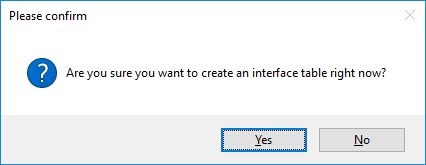
Click Yes on the confirmation screen.
The Interface table will now be created:

The process is complete when you see Interface table created.
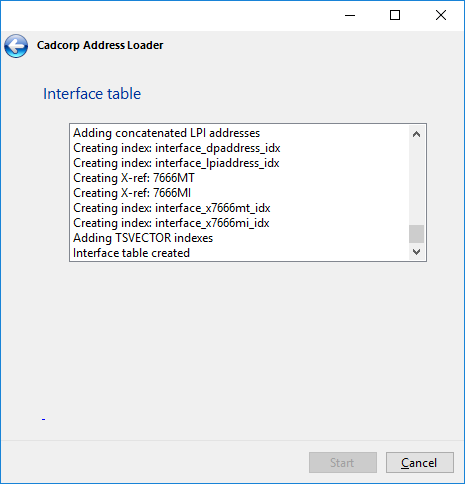
Click Cancel to exit the wizard.